
Adding your institute to SelfStudyPoint is quite easy. Just follow these steps.
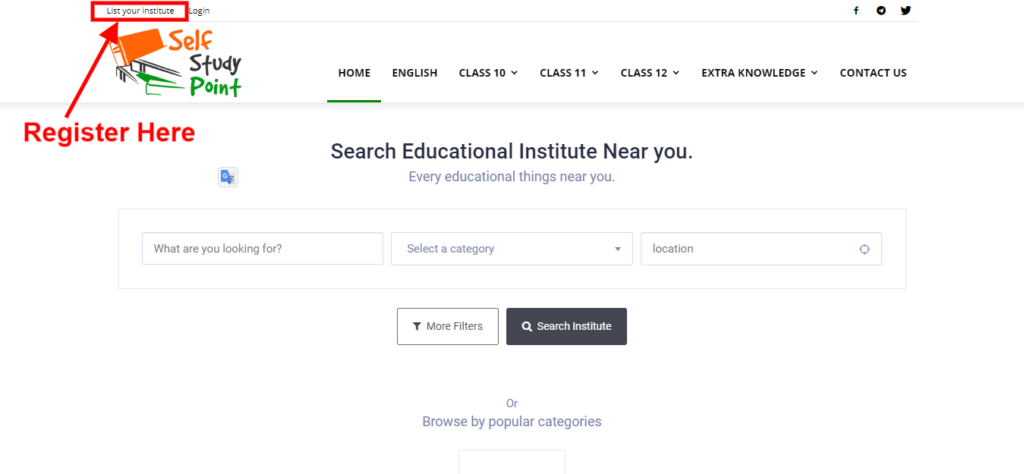
#1 Create Account
To add your institute you need to have an account on the selfstudypoint.in site. To create an account please register here.
A registration form will open. Fill basic details and password. Submit the form. You are registered now.
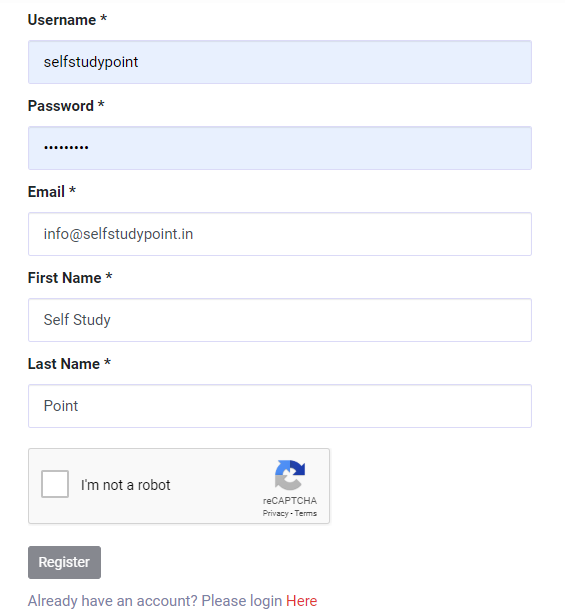
NOTE: Please remind the email you are using will be used for visitors to make queries. So chose wisely.
Once you registered successfully you will get confirmation mail which contains your account details.
#2 Login to your account
After register, you need to login to selfstudypoint. For that, you can log in here. Or use a login link from the top menu.
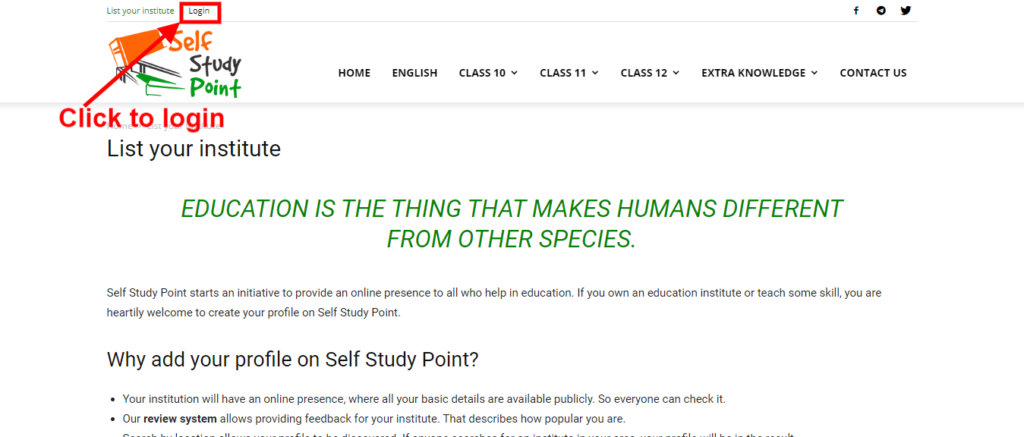
Use your email and password and login. After login, you will be redirected to the Dashboard Page.
#3 User Dashboard
User Dashboard allow you to add, manage your institutes on selfstudypoint. This page have a simple interface.

#4 Add Institute
Click on Add Institute button, a form will open in which you have to provide details related to your institute.
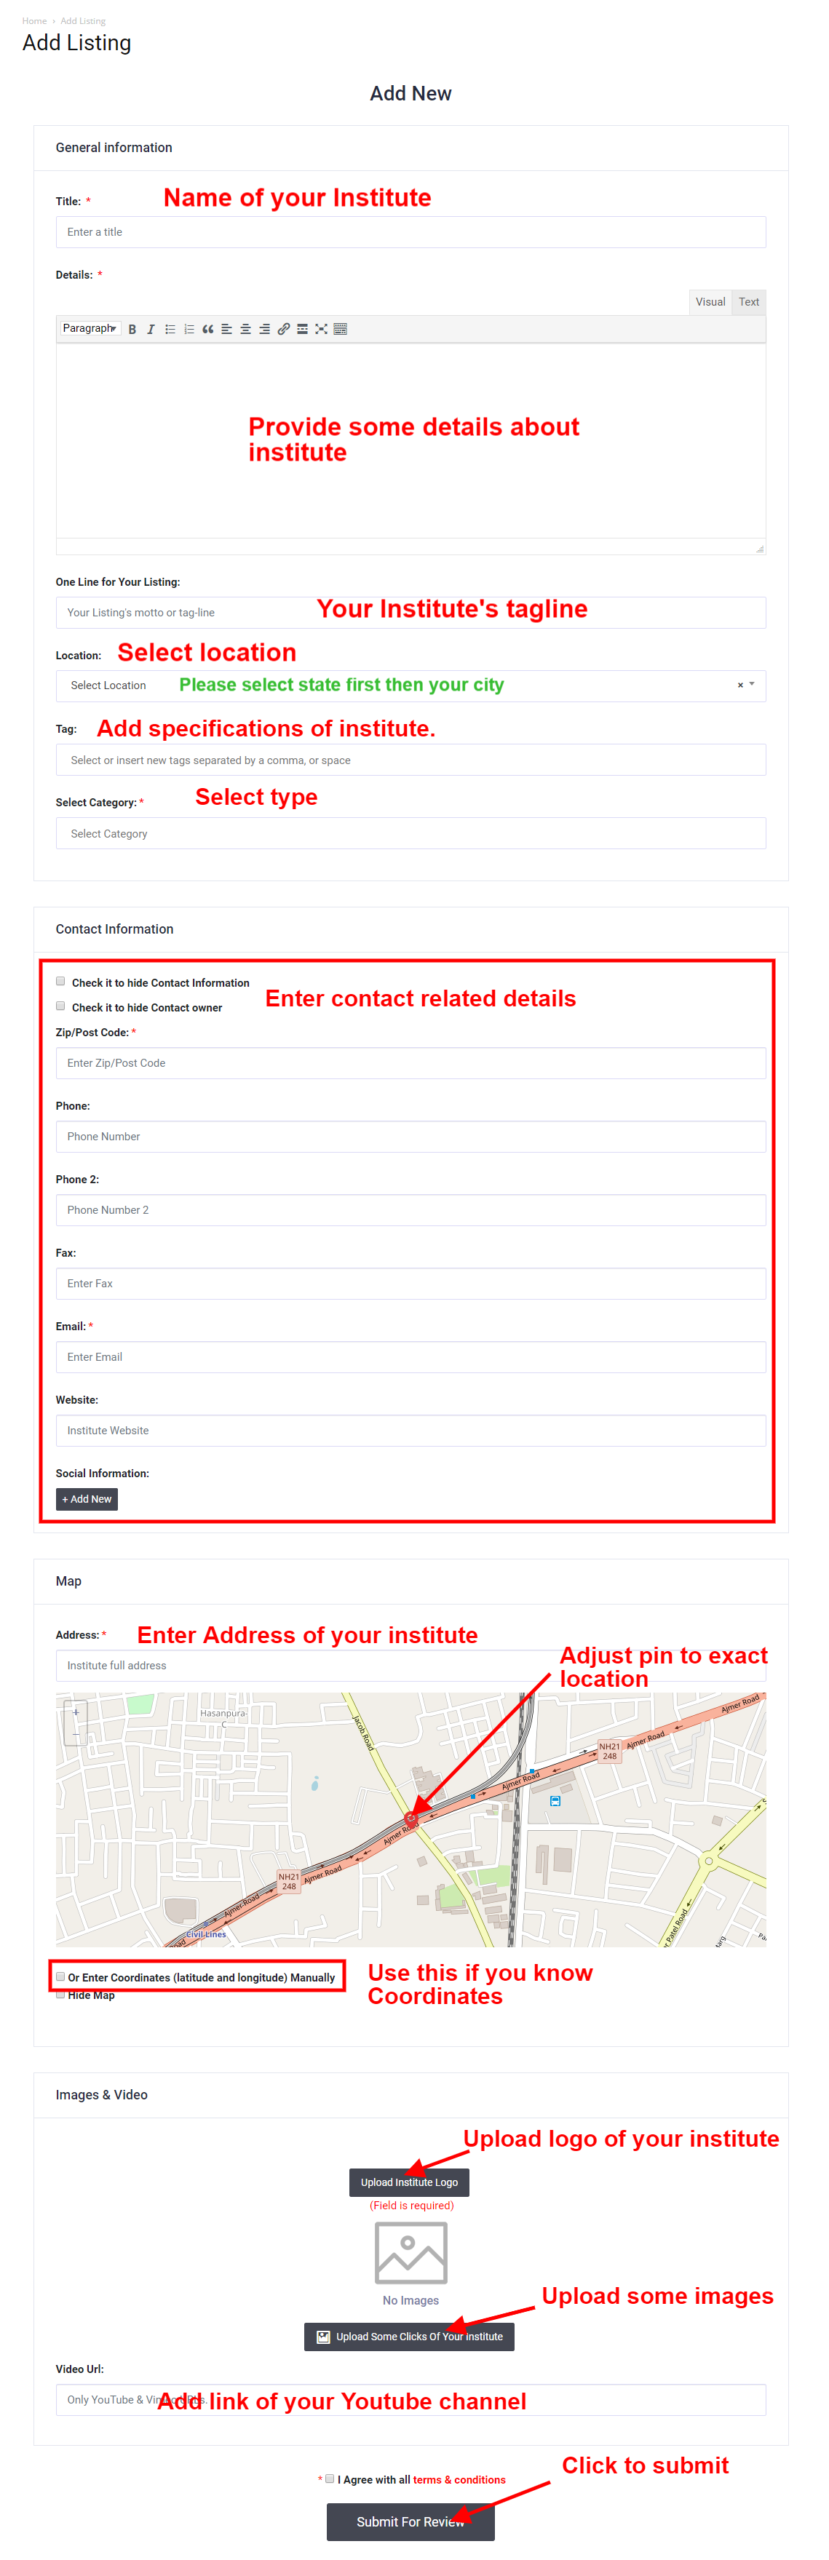
Please fill all the fields. Remind that more content you provide more attractive your institute profile will look.
Some important notes:
Map Pointer:
Please try to provide the exact location on the map. You can drag the map pin to mark your location.
You can also set your location using coordinates. To get coordinates of your location, use google map. Mark your location on google map and check its URL.

Coordinates are in the red box. Lats and long are comma-separated. Use them to show the exact location on the map.
Social Links:
Add socials links, it will increase the chances to get connect you.
Logo and Picture:
Add at least 4-5 pictures related to your institute. Please upload pictures that represent your institute only. Irrelevant content will impact a bad impression on visitors.
Hope this helps you. Still, you need any guidance, please contact us.